Facebook Photo Albums

Create beautiful image galleries on your website, fed directly from a Facebook business album of your choice.
Demo: https://demo.wocode.com/facebook-photo-albums
Tutorial Video
Setup
Updates from Facebook in May of 2018 now require you to sign up as a Facebook Developer and create an app in order to use a Facebook photo album or other Facebook apps. This process may seem daunting, but rest assured it’s actually a rather simple process that only takes a few minutes. Steps are outlined below in detail.
Note: Facebook Photo Albums works with business accounts/profiles only.
ACQUIRING A FACEBOOK APP ID AND APP SECRET
- Go to https://developers.facebook.com/docs/apps/register.
- Click the “Login to Facebook” button.
- After logging in, click the “Create Developer Account” button.
- Click “Next.”

- Name your app, enter your email, and click “Next.” Note: you should not use the words “facebook”, “FB” or anything related to Facebook in the app name, as Facebook does not allow it.

- Complete the security check.
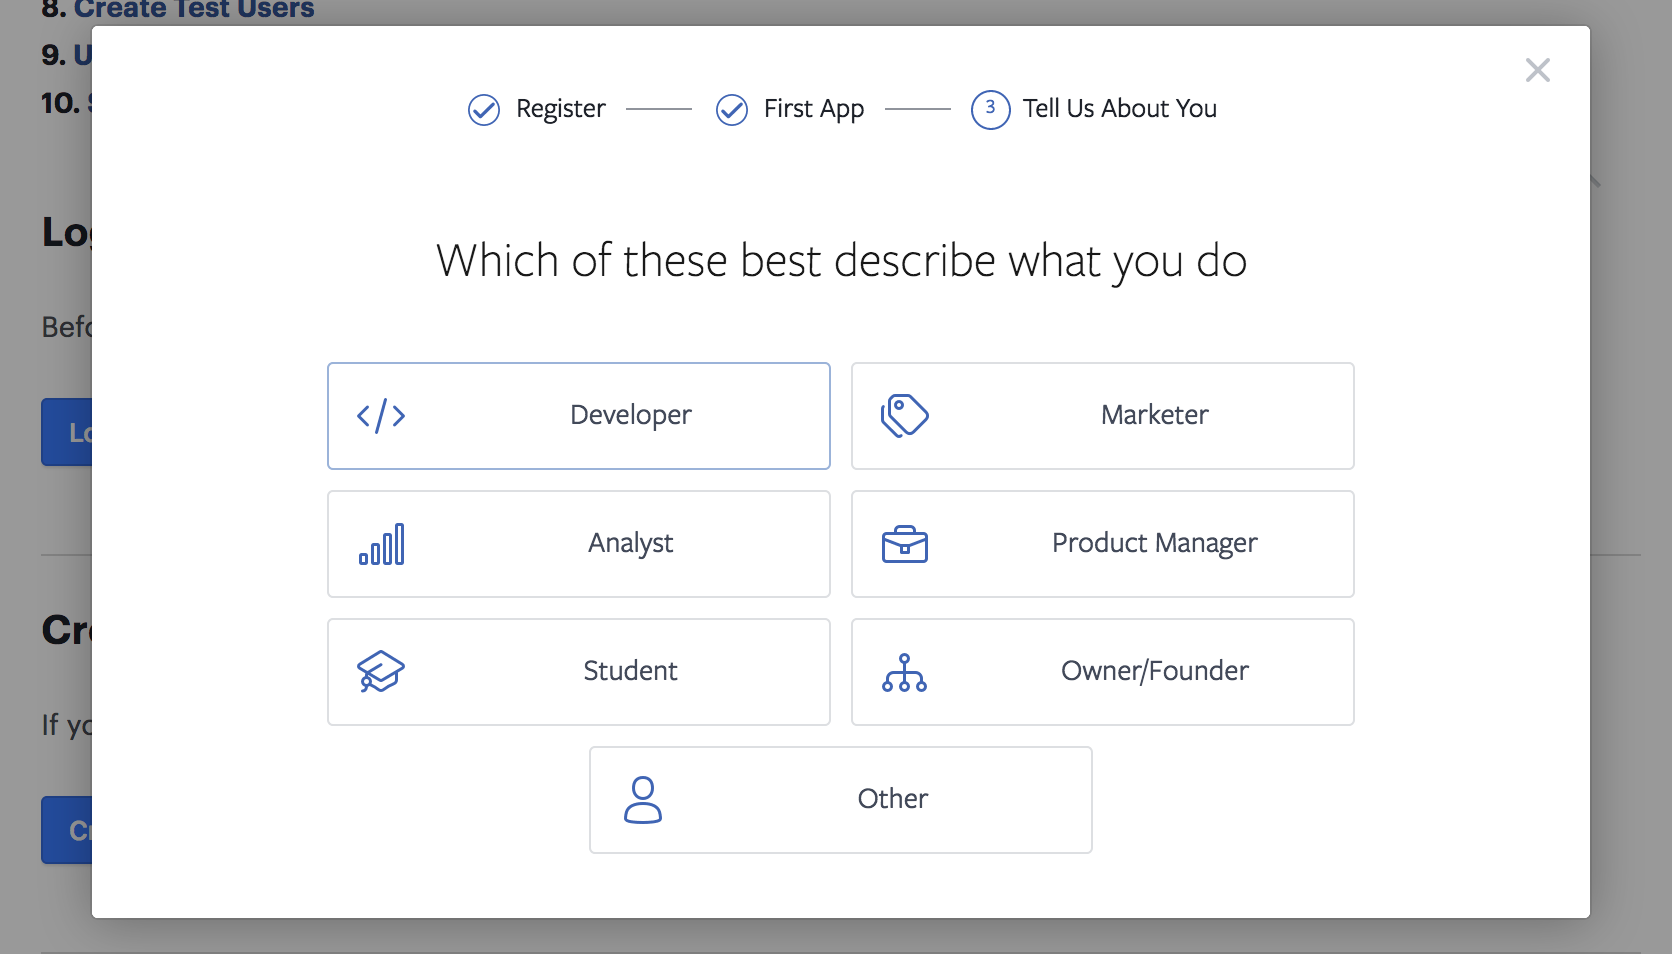
- Choose “Developer.”
- Click “Add your first product.”

- You will now be placed in your dashboard. Click the small triangle next to Settings, in the left sidebar menu, to open the Settings options.
- Select “Basic.”
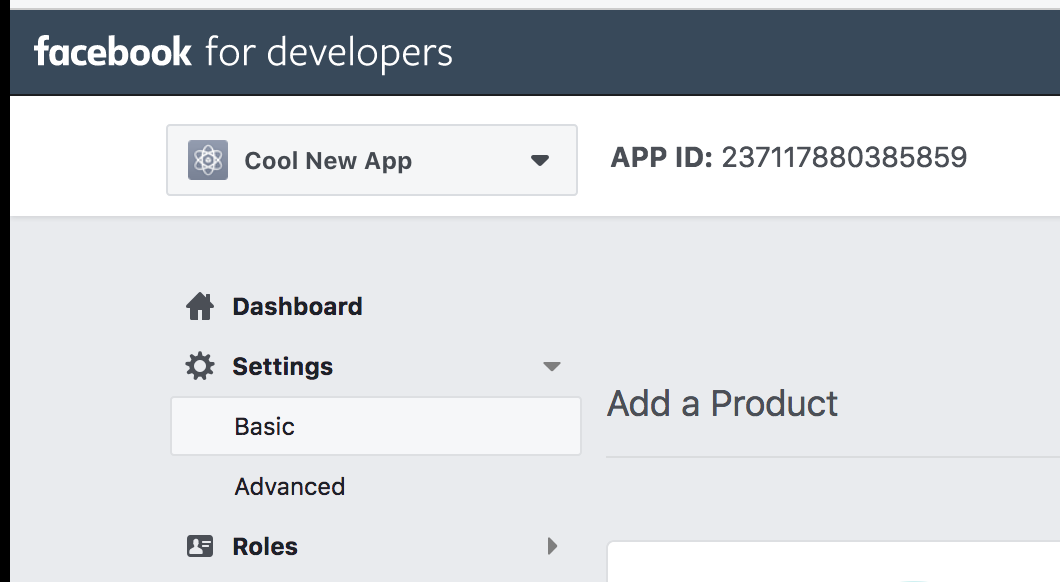
- On the Basic Settings page is where you will find your App ID and token. The token is referred to as “App Secret.”

- Click “Show” to reveal it.

- The final step before copying your App ID and token is to turn your App “On.” Before you can do this however, Facebook requires you to set a link to the privacy policy of your app. Use your best judgement on how official you would like this page to be. To meet the requirements of entering a link here, a possibility is to create an off-menu page on a published site, and link to this.
- Enter the link.
- Click the toggle to turn your App “On.”

- Now copy the App ID and App Secret. Copy them individually, and paste them into our Facebook Photo Albums widget.
ACQUIRING YOUR FACEBOOK BUSINESS PROFILE ID
- Go to your Facebook profile page.
- Click on “Photos”
- Select a photo album, and click on it.
- Copy the Album ID from the URL. Look for the part of the URL that states “album_id=…”

- We always suggest using a photo album to display photos. However, if you wish to display photos from “All Photos”, you can do this as well. Click on any photo.
- Look for the long string of characters in the URL, beginning with “a.” After the “a.”, copy the first string of characters up to the next period. This string of characters should be about 15 characters long (the length may vary).

WIDGET SETUP
- Drop the Facebook Photo Albums widget onto your page.
- Unique ID: This ID allows you to use multiple Facebook Photo Albums widgets on the same page. The ID can be left as default if only one widget is used. Make sure to use separate Unique ID’s if multiple widgets are used on the same page.
- Facebook App ID, Facebook App Secret, and Facebook Business Profile ID: These can all be acquired using the sections above. Copy and paste these using your information.
- Number of Thumbnails: This setting sets the number of thumbnails seen on initial load. Note that the “Load More” button can be used to load additional thumbnails beyond the amount set here initially.
- Thumbnail Width & Thumbnail Height: These settings set the width and height of the thumbnails in your gallery. Note that the gallery width is set by the widget container. The images in a row will always fill the width of the widget container, and the number of images seen will be determined by the Thumbnail Width setting. Large Thumbnail Width sizes will result in fewer images in a row, and vice versa.
- Thumbnail Margin sets the amount of space between images in the gallery. The margin is used around each image, so a setting of 1px will result in a 2px margin between interior images.
- Load More Button Text: This sets the text seen in the “Load More” button. Note that longer text will require an increase in the button width. The “Load More Button Width” can be found in the Design section.
- Thumbnail Overlay Transition Time: This is the time it takes for the overlay to appear when a thumbnail is hovered upon.
DESIGN SECTION
- View Icon Size: This setting determines the size of the “eye” icon when hovering over a thumbnail image.
- Load More Button Width: This sets the width of the “Load More” button. Longer text will require a greater width.The remainder of the Design section settings are self-explanatory, and do as they are labeled.