Email: Send and Receive Emails Within Gmail
If you mainly use Gmail for email (personal or business), it may be handy to be able to send and receive email without ever leaving Gmail. We can accomplish this with the “Send mail as” option in Gmail’s settings.
In this document, we’ll show you how to send and receive your custom email from your Gmail account. This method will store messages in both places (your custom email and Gmail).
If you wish to receive your custom email in your separate Gmail inbox only (and not in your Webmail or configured mail client), you can set up email forwarding.
To view our complete library of email documentation, click here.
Connect Your Custom Email with Gmail to send mail (Send mail as):
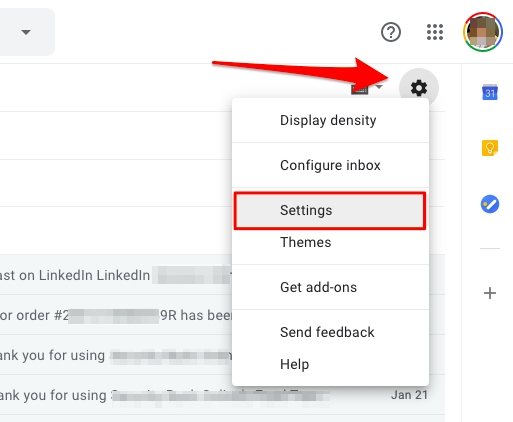
- Log in to your Gmail account, then click the gear icon.
- Select “Settings.”
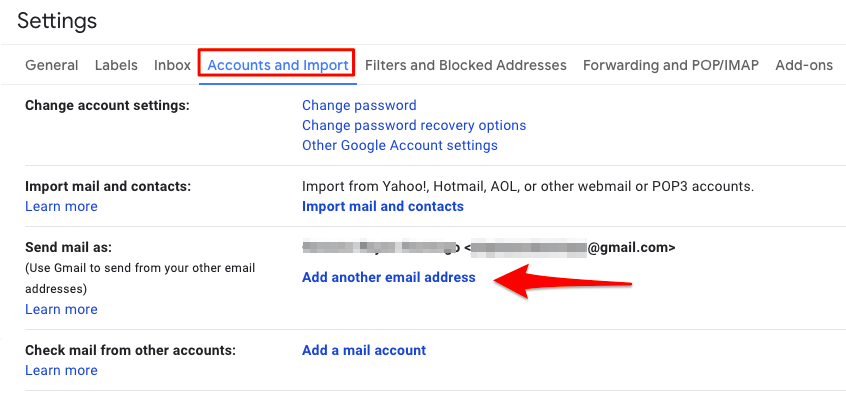
- Go to the “Accounts and Import” tab.
- Click the “Add another email address” in the “Send mail as” section.
- Enter your name in the “Name” field.
- Enter your custom email address in the “Email address” field on the new pop-up window.
- Uncheck the “Treat as an alias” option.
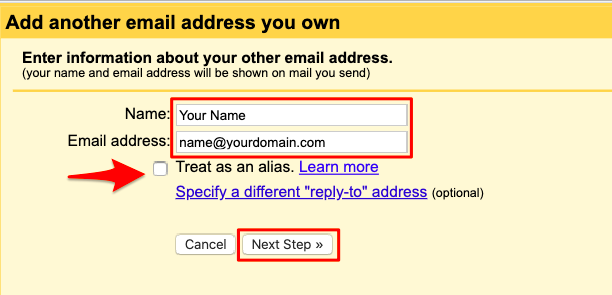
- Click “Next Step”
- This will open another page. Enter these settings:
- SMTP Server: mail.hostedemail.com
- Port: 465
- Username: your custom email address
- Password: your password for your custom email
- Secured connection using SSL (recommended)

- A new screen will load in the same pop-up window instructing you to check your custom email where a confirmation code was sent. You will need to open the email message from Gmail in your mailbox using webmail or wherever you have your email configured.
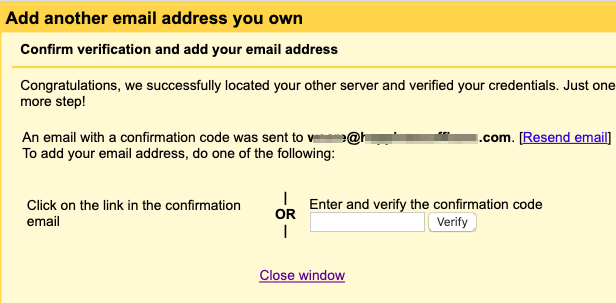
- In your mail inbox, find the Gmail confirmation email title “Gmail Confirmation – Send Mail as name@yourdomain.com” or similar.
- Click the confirmation link in the email.
- A new tab will open. Click “Confirm” to allow sending emails using your custom email address from within your Gmail account

- Once you see the “Confirmation Success!” message, you may close that tab and return to your Gmail settings. Verify that the custom email has been added by refreshing the Gmail settings page.
- The Send mail as settings should look like this:

- You may now begin sending emails from your custom email address by first clicking the “From” field. You should see two email addresses there: one is your Gmail and the other one is your custom email. Pick your custom email address before sending messages.
Connect Your Custom Email with Gmail to Receive Mail (Check mail from other accounts):
- Click on the “Accounts and Import” tab in your Gmail settings page.
- Click “Add a mail account” link in the “Check mail from other accounts” section.

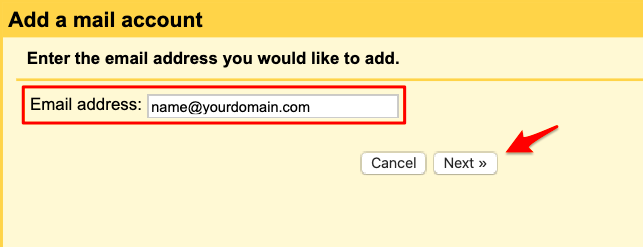
- In the newly-loaded pop-up window, type your custom email in the “Email address” field.
- Click the “Next” button.
- The pop-up window will reload, with these settings:
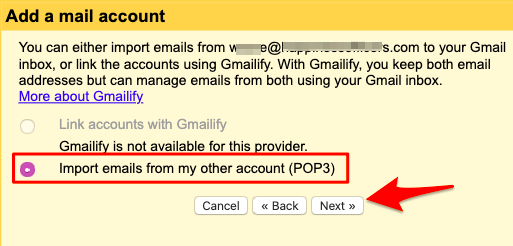
- Click the “Next” button again.
- Enter the following mail server settings:
- Username: your custom email, i.e. name@yourdomain.com
- Password: your custom email password
- POP Server: mail.hostedemail.com
- Port: 995

- Tips: We suggest ticking the following options:
-
-
- Leave a copy of retrieved messages on the server. This allows you to keep a copy of your emails in your Webmail in case you were to lose access to your Gmail account.
- Always use a secure connection (SSL) when retrieving mail; this ensures that your emails are secure.
- Label incoming messages name@yourdomain.com. This makes it easy to tell which emails came from your custom email and which ones were received directly through your actual Gmail email address.
-
- Once you’re done entering the settings, click “Add account.” If you encounter no errors, the pop-up window will close. Gmail will begin retrieving the email messages in your custom email inbox.
Email Forwarding
If you only want to receive your emails in your Gmail inbox, you can set up email forwarding.